Updated: May 2026 | Covers APT and official Nginx repository methods | Ubuntu 26.04 (Resolute Raccoon), 24.04 LTS, 22.04 LTS
Nginx is the world’s most widely used web server, powering everything from personal blogs to the largest sites on the internet. If you want to know how to install Nginx on Ubuntu, you have two main paths: the Ubuntu APT repository, which is the simplest option, or the official Nginx repository, which gives you the latest upstream version. This guide covers both methods across all three active Ubuntu LTS releases, with firewall configuration, virtual host setup, SSL, and troubleshooting included.
Nginx versions by Ubuntu release — what you get from APT
Before you install, it is worth knowing which version of Nginx comes with your Ubuntu release out of the box:
| Ubuntu release | Nginx version (APT default) | Nginx latest stable (upstream) |
|---|---|---|
| Ubuntu 26.04 LTS (Resolute Raccoon) | 1.28.3 | 1.30.1 |
| Ubuntu 24.04 LTS (Noble Numbat) | 1.24.0 | 1.30.1 |
| Ubuntu 22.04 LTS (Jammy Jellyfish) | 1.18.0 | 1.30.1 |
The latest stable Nginx release is 1.30.1, released on May 13, 2026, which includes fixes for multiple CVEs including an HTTP/2 request injection vulnerability. If you are running a production server and need the latest security patches and features, use Method 2 (the official Nginx repository) instead of the default APT package.
For most development environments and low-traffic servers, the APT default is perfectly fine. For production, use the official Nginx repo.
Method 1 — How to install Nginx on Ubuntu using APT (simplest)
This is the fastest way to install Nginx on Ubuntu. The package is maintained by Canonical and integrates cleanly with Ubuntu’s systemd, UFW firewall, and standard file layout.
Step 1: Update the package index
bash
sudo apt updateStep 2: Install Nginx
bash
sudo apt install nginxUbuntu automatically starts and enables the Nginx service during installation on all supported LTS releases — you do not need a separate start command.
Step 3: Verify Nginx is running
bash
sudo systemctl status nginxYou should see active (running) in the output. If not, start it manually:
bash
sudo systemctl enable --now nginxStep 4: Check the installed version
bash
nginx -vExpected output per release:
- Ubuntu 26.04:
nginx version: nginx/1.28.3 (Ubuntu) - Ubuntu 24.04:
nginx version: nginx/1.24.0 (Ubuntu) - Ubuntu 22.04:
nginx version: nginx/1.18.0 (Ubuntu)
Step 5: Test in a browser
Open a browser and navigate to your server’s IP address:
http://your_server_ipYou should see the default Nginx welcome page. To find your server’s IP:
bash
ip addr show | grep "inet " | grep -v 127.0.0.1Method 2 — How to install Nginx on Ubuntu from the official Nginx repository (latest version)
Use this method if you need Nginx 1.30.1 (the current stable release) or want access to the latest security patches independently of Ubuntu’s release cycle.
Step 1: Install prerequisites
bash
sudo apt update
sudo apt install -y curl gnupg2 ca-certificates lsb-release ubuntu-keyring
Step 2: Import the official Nginx signing key
bash
curl https://nginx.org/keys/nginx_signing.key | gpg --dearmor \
    | sudo tee /usr/share/keyrings/nginx-archive-keyring.gpg >/dev/null
Verify the key fingerprint:
bash
gpg --dry-run --quiet --no-keyring --import --import-options import-show \
    /usr/share/keyrings/nginx-archive-keyring.gpg
The output should contain 573BFD6B3D8FBC641079A6ABABF5BD827BD9BF62. If it doesn’t match, remove the file and do not continue.
Step 3: Add the Nginx stable repository
bash
echo "deb [signed-by=/usr/share/keyrings/nginx-archive-keyring.gpg] \
http://nginx.org/packages/ubuntu $(lsb_release -cs) nginx" \
    | sudo tee /etc/apt/sources.list.d/nginx.list
Step 4: Pin the Nginx repository to take priority over Ubuntu’s default
bash
echo -e "Package: *\nPin: origin nginx.org\nPin: release o=nginx\nPin-Priority: 900\n" \
    | sudo tee /etc/apt/preferences.d/99nginx
Step 5: Install Nginx
bash
sudo apt update
sudo apt install nginx
Step 6: Verify the version
bash
nginx -vYou should now see nginx version: nginx/1.30.1.
Step 7: Start and enable
bash
sudo systemctl enable --now nginx
sudo systemctl status nginx
Configure UFW firewall
Ubuntu’s UFW firewall blocks incoming connections by default. Nginx registers application profiles with UFW automatically — use them to open the correct ports.
Check available Nginx profiles:
bash
sudo ufw app listYou should see three Nginx profiles:
Nginx HTTP— opens port 80 onlyNginx HTTPS— opens port 443 onlyNginx Full— opens both port 80 and 443
Allow HTTP and HTTPS (recommended for production):
bash
sudo ufw allow 'Nginx Full'Allow HTTP only (development or before SSL is configured):
bash
sudo ufw allow 'Nginx HTTP'Enable UFW if it isn’t already active:
bash
sudo ufw enable
sudo ufw status
Understanding Nginx’s file structure on Ubuntu
Before editing any configuration, it helps to know where everything lives:
| Path | Purpose |
|---|---|
/etc/nginx/nginx.conf | Main Nginx configuration file |
/etc/nginx/sites-available/ | Available virtual host configs (inactive) |
/etc/nginx/sites-enabled/ | Symlinks to active virtual host configs |
/var/www/html/ | Default web root |
/var/log/nginx/access.log | Access log |
/var/log/nginx/error.log | Error log |
/etc/nginx/snippets/ | Reusable config fragments (e.g. SSL settings) |
The sites-available / sites-enabled pattern means you create config files in sites-available and enable them by symlinking to sites-enabled — a clean way to switch virtual hosts on and off without deleting files.
Set up a virtual host (server block)
A virtual host (called a server block in Nginx) lets you serve multiple websites from the same server. Here’s how to set one up for a domain called example.com.
Step 1: Create the web root directory
bash
sudo mkdir -p /var/www/example.com/html
sudo chown -R $USER:$USER /var/www/example.com/html
sudo chmod -R 755 /var/www/example.com
Step 2: Create a test page
bash
echo "<h1>Welcome to example.com on Nginx</h1>" | sudo tee /var/www/example.com/html/index.htmlStep 3: Create the server block configuration
bash
sudo nano /etc/nginx/sites-available/example.comPaste the following:
nginx
server {
    listen 80;
    listen [::]:80;

    server_name example.com www.example.com;
    root /var/www/example.com/html;
    index index.html index.htm;

    location / {
        try_files $uri $uri/ =404;
    }

    access_log /var/log/nginx/example.com.access.log;
    error_log /var/log/nginx/example.com.error.log;
}
Step 4: Enable the site
bash
sudo ln -s /etc/nginx/sites-available/example.com /etc/nginx/sites-enabled/Step 5: Test the configuration
Always test before reloading — a syntax error in an Nginx config will prevent the service from restarting:
bash
sudo nginx -tExpected output:
nginx: the configuration file /etc/nginx/nginx.conf syntax is ok
nginx: configuration file /etc/nginx/nginx.conf test is successful
Step 6: Reload Nginx
bash
sudo systemctl reload nginxEnable HTTPS with Let’s Encrypt (free SSL)
Once your domain is pointing to the server, add HTTPS with Certbot in two commands.
Install Certbot:
bash
sudo apt install certbot python3-certbot-nginxObtain and install the certificate:
bash
sudo certbot --nginx -d example.com -d www.example.comCertbot automatically modifies your Nginx server block to handle HTTPS and sets up an auto-renewal cron job. Test renewal works correctly:
bash
sudo certbot renew --dry-runEssential Nginx management commands
bash
# Check status
sudo systemctl status nginx

# Start Nginx
sudo systemctl start nginx

# Stop Nginx
sudo systemctl stop nginx

# Reload config without dropping connections (use this for config changes)
sudo systemctl reload nginx

# Restart Nginx (drops active connections)
sudo systemctl restart nginx

# Test configuration syntax
sudo nginx -t

# View the access log in real time
sudo tail -f /var/log/nginx/access.log

# View the error log in real time
sudo tail -f /var/log/nginx/error.log
Upgrade to the latest Nginx version on Ubuntu 24.04 or 22.04
If you installed Nginx via APT on Ubuntu 24.04 or 22.04 and want to upgrade to Nginx 1.30.1 without reinstalling:
Remove the existing APT installation and switch to the official repo:
bash
sudo apt remove nginx nginx-common
sudo apt autoremove
Then follow Method 2 above from Step 1. Your existing configuration files in /etc/nginx/ are preserved when you remove the package — they will be picked up automatically by the new installation.
Troubleshooting common issues
Port 80 already in use
If Nginx fails to start with bind() to 0.0.0.0:80 failed (98: Address already in use), something else is using port 80 — often Apache:
bash
sudo ss -tlnp | grep :80
sudo systemctl stop apache2
sudo systemctl disable apache2
sudo systemctl start nginx
Permission denied on web root
If Nginx serves a 403 Forbidden error, check directory permissions:
bash
ls -la /var/www/example.com/html
sudo chmod -R 755 /var/www/example.com
Changes not taking effect
After editing any config file always run sudo nginx -t first, then sudo systemctl reload nginx. If you use restart instead of reload, active connections are dropped.
Nginx not starting after reboot
Check that the service is enabled:
bash
sudo systemctl is-enabled nginx
# Should return: enabled
sudo systemctl enable nginx
nginx: command not found after install
Check the binary location:
bash
which nginx
ls /usr/sbin/nginx
If the binary exists but the command isn’t found, your PATH may not include /usr/sbin. Add it:
bash
export PATH=$PATH:/usr/sbinSummary — how to install Nginx on Ubuntu in one command
For a quick install on any active Ubuntu LTS release:
bash
sudo apt update && sudo apt install nginx && sudo systemctl enable --now nginxFor the latest Nginx 1.30.1 from the official upstream repository:
bash
curl https://nginx.org/keys/nginx_signing.key | gpg --dearmor | sudo tee /usr/share/keyrings/nginx-archive-keyring.gpg >/dev/null && echo "deb [signed-by=/usr/share/keyrings/nginx-archive-keyring.gpg] http://nginx.org/packages/ubuntu $(lsb_release -cs) nginx" | sudo tee /etc/apt/sources.list.d/nginx.list && sudo apt update && sudo apt install nginx && sudo systemctl enable --now nginxBoth result in a running Nginx installation ready to serve traffic. The choice comes down to whether you need the convenience of Ubuntu’s packaged version or the latest upstream release with current security patches.

GhostLock: A 15-Year Linux Kernel Bug Has a 5-Second Public Root Exploit
A Linux kernel vulnerability that has been hiding in plain sight since 2011 was publicly disclosed o…
How to Install Linux on a Laptop: A Step-by-Step Guide – 2026
Switching to Linux can breathe new life into an aging laptop, boost your privacy, and hand you full …

Pedit COW Explained: The Linux Kernel Flaw Letting Local Users Become Root
A new Linux kernel vulnerability nicknamed “pedit COW” has become one of the biggest sec…
The AUR Malware Attack Exposed a Fact Most Arch Users Don’t Know
Here is something most Arch Linux users have never thought carefully about: the Arch User Repository…
Ctrl+C Ctrl+V Not Working in Terminal? Here’s Why (Linux)
Ctrl+C Ctrl+V not working in terminal is one of the most common points of confusion for anyone new t…
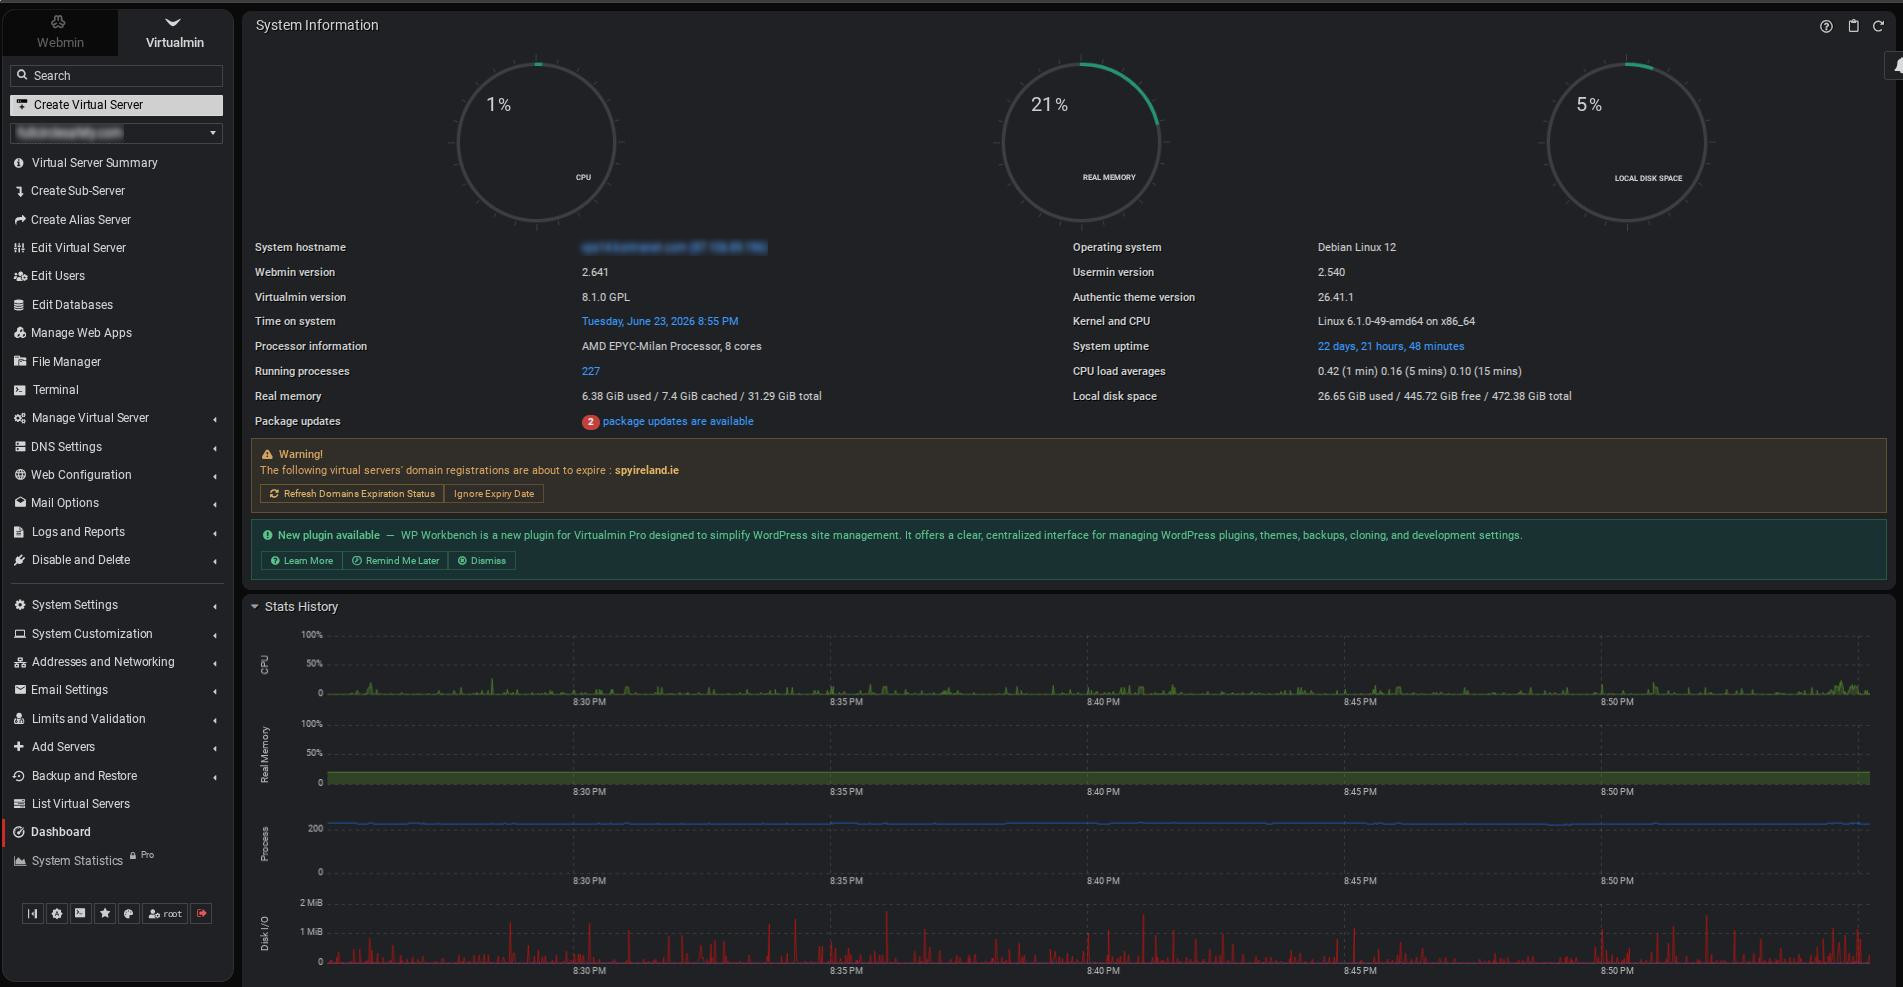
Best Linux VPS Hosting in 2026 (Compared for Developers)
A Linux VPS gives you your own isolated slice of a physical server — dedicated RAM, guaranteed CPU, …
GhostLock: A 15-Year Linux Kernel Bug Has a 5-Second Public Root Exploit
A Linux kernel vulnerability that has been hiding in plain sight since 2011 was publicly disclosed o…
How to Install Linux on a Laptop: A Step-by-Step Guide – 2026
Switching to Linux can breathe new life into an aging laptop, boost your privacy, and hand you full …
Pedit COW Explained: The Linux Kernel Flaw Letting Local Users Become Root
A new Linux kernel vulnerability nicknamed “pedit COW” has become one of the biggest sec…
The AUR Malware Attack Exposed a Fact Most Arch Users Don’t Know
Here is something most Arch Linux users have never thought carefully about: the Arch User Repository…
Ctrl+C Ctrl+V Not Working in Terminal? Here’s Why (Linux)
Ctrl+C Ctrl+V not working in terminal is one of the most common points of confusion for anyone new t…
Best Linux VPS Hosting in 2026 (Compared for Developers)
A Linux VPS gives you your own isolated slice of a physical server — dedicated RAM, guaranteed CPU, …

Best Smart Home Gadgets Under $50 in 2026: 10 Picks That Are Actually Worth It
Smart home technology has a reputation for being expensive. And sure, a fully automated house with motorised blinds, a video doorbell on every door, and a $300 thermostat isn’t cheap.…
How to Install Nginx on Ubuntu (26.04, 24.04 and 22.04)