MacBooks are renowned for their popularity and reliability, but if you wish to run a Linux operating system on your device, there are specific steps you need to follow. This article provides a detailed walkthrough on how to install Linux on a MacBook, allowing you to harness the power and flexibility of your hardware with your favorite Linux distribution.
Step 1: Backup Your Data
Before embarking on the Linux installation journey on your MacBook, it’s crucial to create a backup of all essential data. The installation process may lead to data deletion or corruption, making it essential to prioritize the safety of your data.
Backup Options:
- External Hard Drive or USB Drive: Connect an external hard drive or USB drive and copy important files and folders to this storage device. This method offers a reliable and portable solution for easy access later.
- Cloud-based Services: Utilize cloud storage services such as Google Drive, Dropbox, or OneDrive to backup your data. This ensures accessibility from other devices.
- Local Network or Another Computer: If you have another computer or network storage available, connect your MacBook and transfer important data to the local network or the other computer.
During the backup, ensure that all critical files, documents, photos, videos, and other data are securely saved. Verify that the data is accessible and intact at the end of the backup process.
Remember, while a backup is a precautionary measure, there’s always a risk of data loss. Be thorough and attentive during the data backup.
If you install Linux on your MacBook, both the macOS system and macOS Recovery will be erased from the hard drive. During Linux installation, the hard drive will be repartitioned, with Linux occupying the space previously used by macOS.
Therefore, it’s vital to appropriately back up all essential data and any macOS system or macOS Recovery you might want to restore later. The backup ensures that, if necessary, you can restore your Mac system to its original macOS state.
If you want to create a backup of macOS Recovery, the best solution is to create a full system backup, known as a “bootable backup,” of the entire hard drive, including macOS Recovery.
You can create such a bootable backup using macOS’s built-in “Time Machine” feature or use specialized backup applications like “Carbon Copy Cloner” or “SuperDuper.” These applications can create an exact duplicate of the hard drive, including the operating system, data, and macOS Recovery.
Such a bootable backup allows you to later restore the entire system, including the original macOS state and macOS Recovery. If needed, you can revert your Mac to a specific point in time when the backup was created.
However, it’s crucial to note that Apple periodically updates macOS Recovery, and the content of Recovery may vary between operating system versions. Therefore, it’s essential always to create a fresh backup of your system and regularly update backups with the latest data and settings.
Step 2: Choose a Linux Distribution
Decide which Linux distribution you want to install on your MacBook. Options include Ubuntu, Fedora, Debian, or Linux Mint. Visit the distribution’s website to find download options and corresponding detailed guides.
Step 3: Create a Bootable USB
After downloading your chosen Linux distribution, create a bootable USB drive. You’ll need an empty USB drive (at least 8 GB) and a USB installer tool like Rufus or Etcher. Download and install these tools, then follow the steps provided by the distribution’s installer using the USB creation program.
Step 4: Boot from the Installer
Connect the installer USB drive to your MacBook and restart the device. During the boot process, hold down the Option (Alt) key to enter the boot menu. Choose the USB drive from the list and click “Continue” or “Boot.”
Step 5: Installing Linux on a MacBook
Once the installer successfully loads, follow the on-screen instructions to install Linux. Typically, you’ll need to set the language, location, username, and password. Ensure you select the correct hard drive during the steps in the installer (usually the SSD or the internal storage in a MacBook). Follow the general guidance provided by the installer and choose settings that match your preferences.
Step 6: Complete the Installation
After completing the Linux installation, your MacBook will restart, and the installed Linux system will take over. Follow the instructions for initial setup, such as selecting the timezone and installing updates.
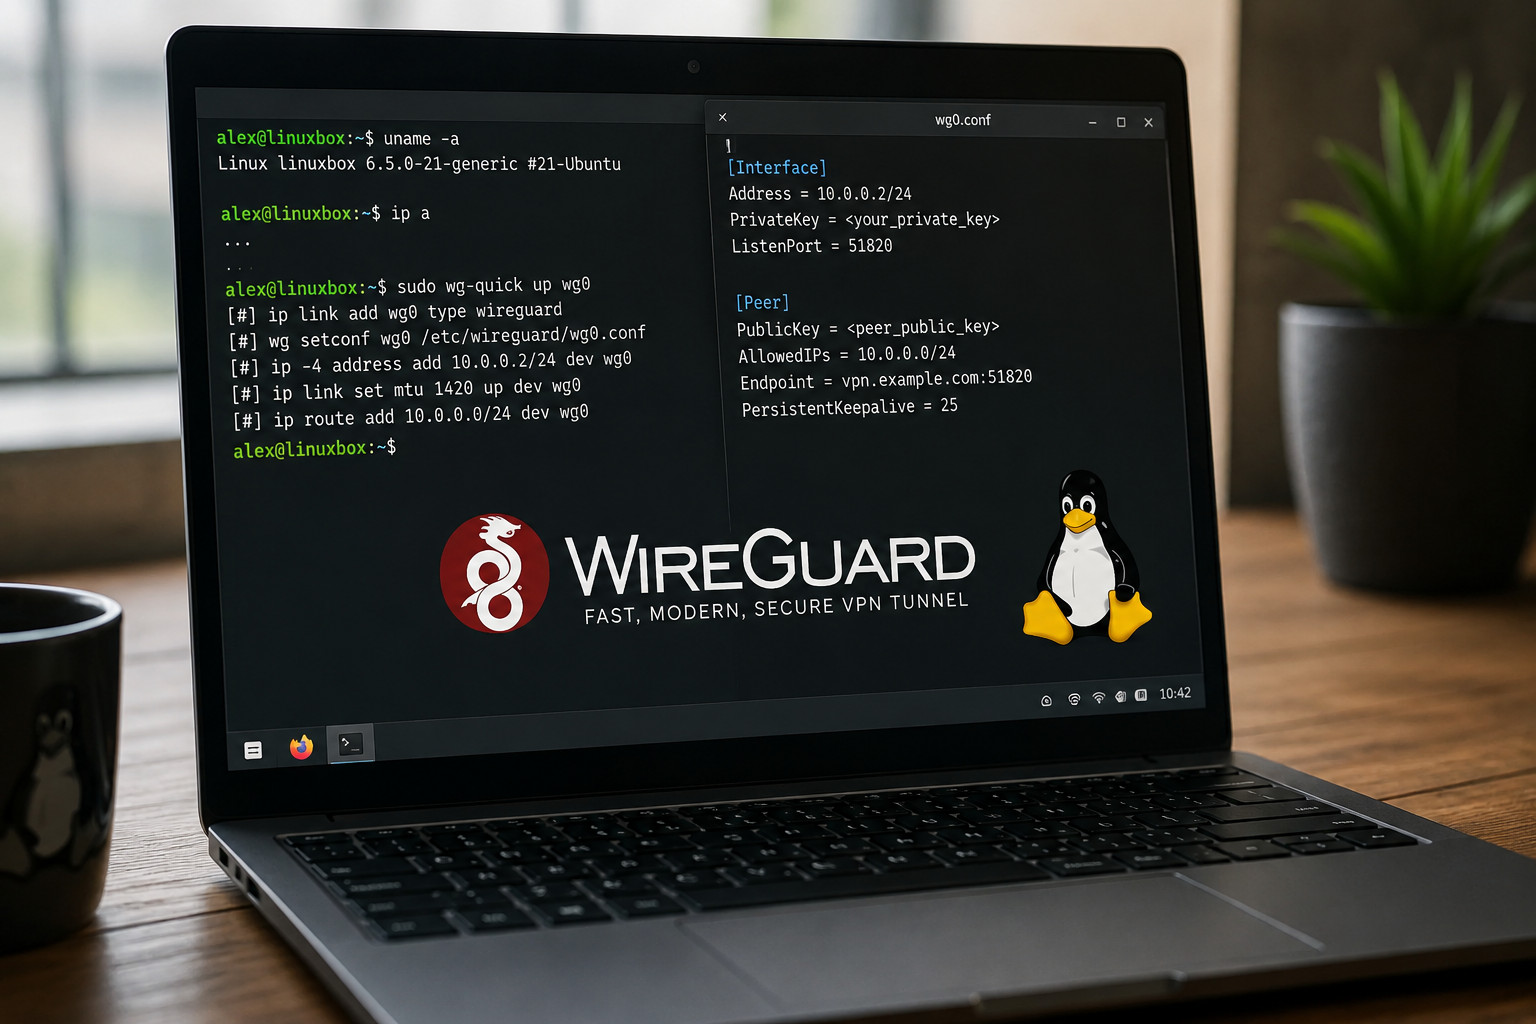
How to Set Up WireGuard VPN on Linux (Server and Client, 2026)
Updated: May 2026 | Covers Ubuntu 26.04, 24.04, Debian, Fedora | Server + client + mobile setup Wire…

How to Harden Your Linux System in 30 Minutes (Step-by-Step)
Skill level: Intermediate | Time to complete: 30–40 minutes | Tested on: Ubuntu 24.04, Debian 12, Fe…
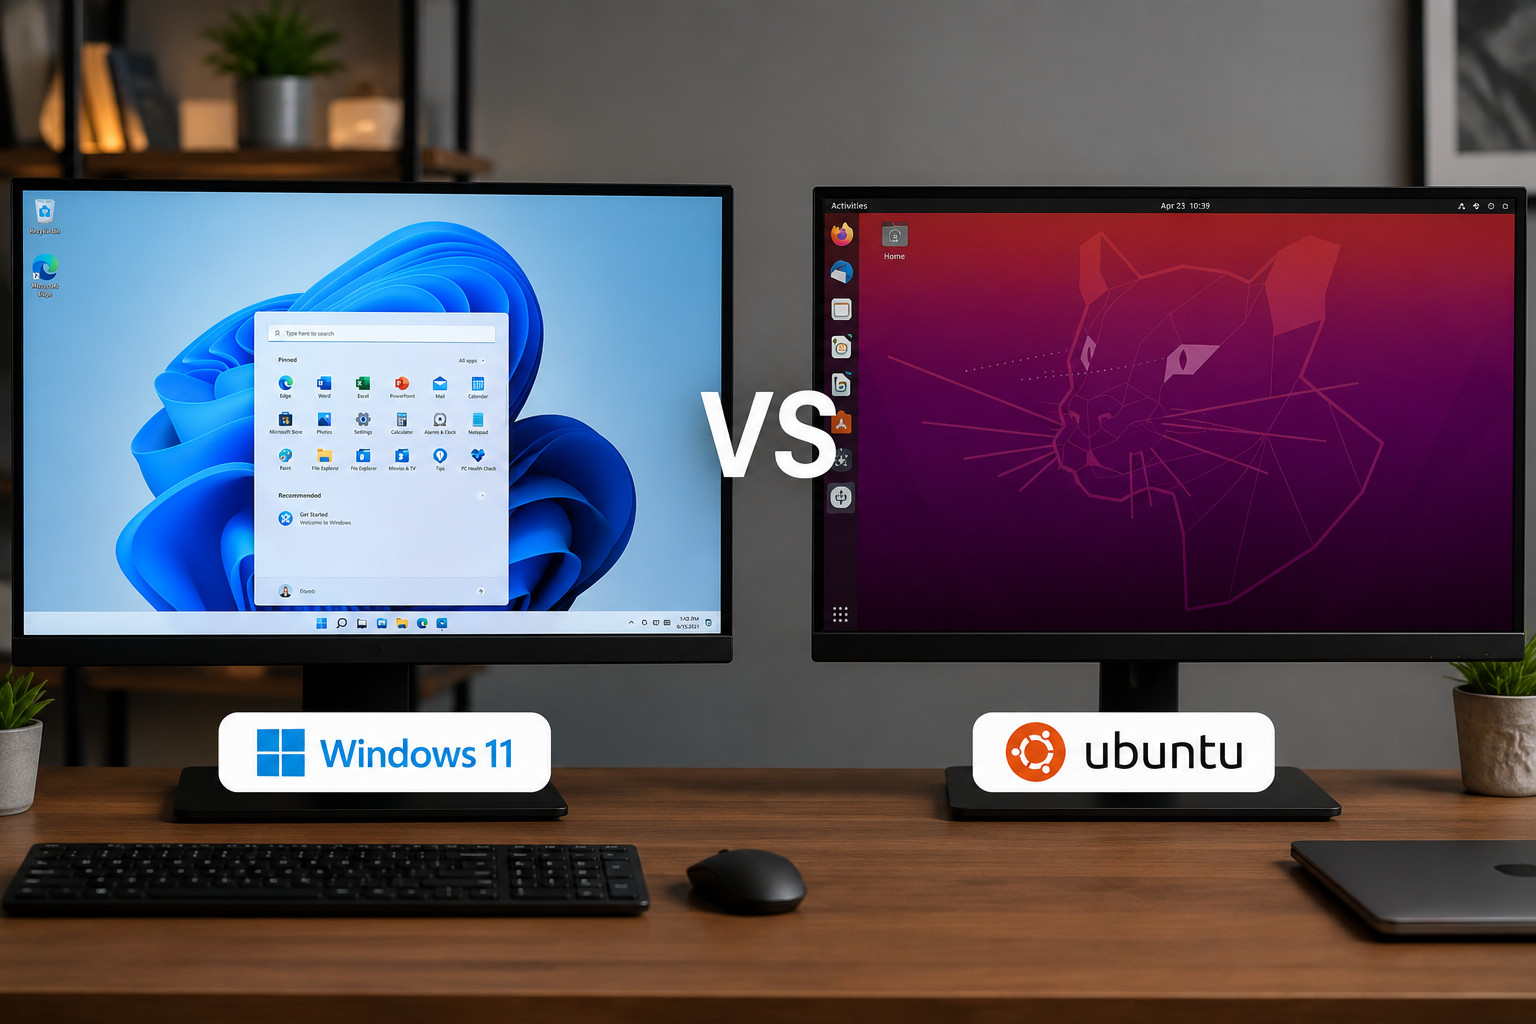
Windows 11 vs Linux in 2026 — Should You Switch?
Updated: May 2026 | Covers performance, gaming, privacy, software, and who should actually switch Wi…